 Bonevia
Bonevia
Bonevia
Choosing the right Compression Screws is not a matter of selecting the largest size or lowest price. The decision affects stability, insertion control, healing conditions, and long-term reliability. This guide presents ten practical tips for evaluating screw design, material, thread geometry, and application requirements. It considers details that are easy to overlook, such as thread pitch, core diameter, head profile, and the available insertion instrument. Small differences matter.
A reliable choice begins with the intended load, surrounding material, and installation environment. In orthopedic applications, surgeons and engineers may assess bone quality, fracture pattern, screw length, and compression behavior together. In industrial assemblies, they may examine joint movement, vibration, corrosion exposure, and maintenance access. Manufacturer drawings, test data, and traceable quality records should support every selection. Look closely.
Hands-on experience often reveals problems that product tables cannot show. A screw may fit the measurement but fail during insertion because the driver interface is shallow. Excessive torque can damage threads, while insufficient compression can leave a joint unstable. I have also seen specifications interpreted too quickly, especially when nominal diameter is mistaken for effective holding strength. That mistake deserves attention. No checklist is flawless.
The following tips help readers compare Compression Screws with greater confidence. They encourage careful measurement, compatibility checks, evidence-based purchasing, and consultation with qualified professionals. The best option is not always the most advanced design. It is the one that matches the real working conditions, installation method, and documented performance requirements. Specification first. Assumptions last.
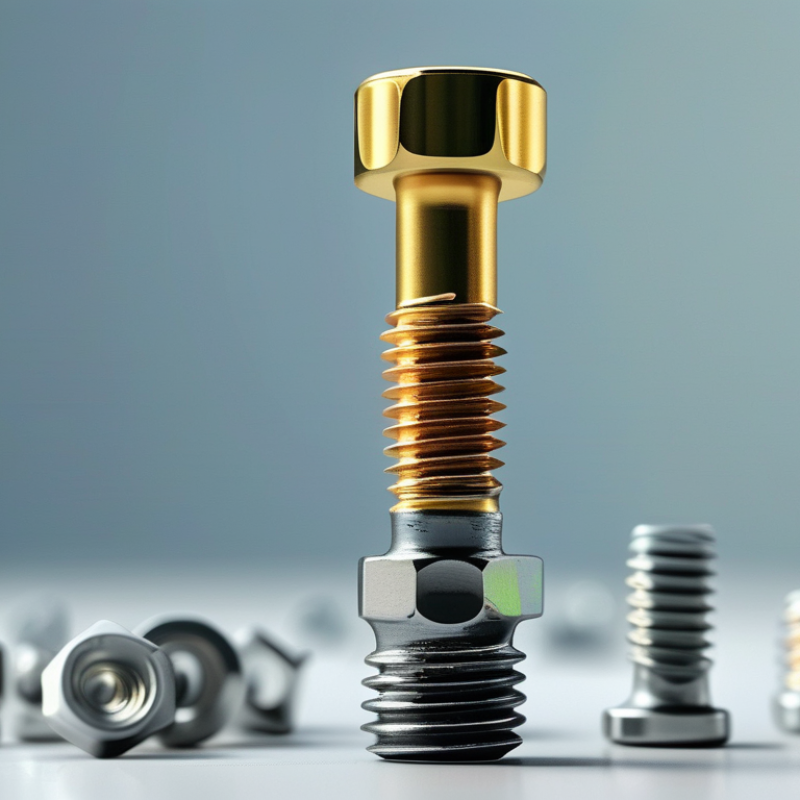
Compression screws are designed to draw two bone fragments together and maintain contact during healing. Their working principle is simple: tightening the screw creates axial force, while the threads grip the far fragment. The near fragment must slide over the screw shaft; otherwise, both fragments may advance together without compression. A partially threaded screw often provides this lag effect, while a fully threaded screw mainly stabilizes position. The choice depends on fracture shape, bone quality, and the required mechanical support.
Practical selection starts with diameter, length, thread design, and head shape. The screw should cross the fracture securely without entering sensitive tissue or extending too far beyond the far cortex. Proper drilling matters. A narrow glide hole can reduce compression, while excessive drilling may weaken purchase. Controlled tightening is essential; more torque is not always better. It can crush fragile bone or damage the thread path. I have found that small alignment errors become obvious when the fragments fail to close evenly. That detail is easy to miss. Surgeons and engineers should confirm screw dimensions, insertion angle, and torque guidance from current technical documentation. Imaging and hands-on inspection remain important because bone density and fracture geometry vary considerably. There is no universal screw choice. Even a well-designed fixation can perform poorly when preparation is rushed.
| No. | Selection Dimension | Purpose and Working Principle | Practical Selection Guidance | Key Check Before Use |
|---|---|---|---|---|
| 1 | Define the Joint Function | A compression screw is designed to draw two or more components together and maintain clamping force across the joint. The screw creates compression when its head and threads react against the connected parts. | Choose a compression screw when the assembly requires stable contact between mating surfaces, resistance to separation, or controlled tightening rather than simple positioning. | Confirm the joint requires clamping force and identify whether the connection is temporary, permanent, adjustable, or load-bearing. |
| 2 | Select the Correct Screw Type | Different screw designs transfer clamping force in different ways. Headed screws clamp through the head, while countersunk screws seat into a tapered recess and provide a flush surface. | Use a standard head when surface clearance is available. Use a countersunk head when a flush finish is required, provided the material can support the countersink. | Match the head style to the available space, required surface finish, tool access, and strength of the surrounding material. |
| 3 | Match the Diameter to the Load | A larger nominal diameter generally provides a greater tensile stress area and can distribute load over a larger bearing area. However, joint strength also depends on material, engagement, and installation quality. | Use a diameter that can withstand the expected tensile, shear, and clamping loads without overstressing the screw or crushing the joint material. | Check the screw’s rated strength and verify that the hole, washer, and mating material are suitable for the selected diameter. |
| 4 | Choose the Appropriate Length | The screw must provide sufficient thread engagement to develop the required holding force. Excessive length can interfere with moving parts, wiring, or adjacent components. | Calculate the total grip length, include washers or spacers, and select a screw that achieves adequate engagement without bottoming out or protruding unnecessarily. | Verify that the screw will not bottom in a blind hole and that the available thread engagement is sufficient for the base material. |
| 5 | Select the Thread Form and Pitch | Thread pitch affects installation speed, resistance to loosening, and the relationship between torque and axial preload. Fine threads have a smaller pitch; coarse threads have a larger pitch. | Use a thread standard and pitch compatible with the mating hole or nut. Coarse threads are commonly suitable for softer materials, while fine threads can provide more adjustment per turn and better stripping resistance in some applications. | Confirm the nominal diameter, pitch, thread standard, and mating component are exactly compatible. |
| 6 | Consider the Base Material | The joint can fail by thread stripping, bearing failure, cracking, or deformation before the screw reaches its rated capacity. Material hardness and thickness influence the required design. | For soft or thin materials, consider a larger bearing surface, a washer, a threaded insert, a nut, or a reduced tightening torque. For brittle materials, avoid excessive local stress and sharp contact points. | Evaluate thread engagement, edge distance, material thickness, and the risk of crushing or cracking during tightening. |
| 7 | Choose the Screw Material | Screw material determines strength, hardness, temperature capability, and compatibility with the environment. The screw must maintain its mechanical properties under service conditions. | Select a material suitable for the expected load, temperature, moisture, chemicals, and electrical requirements. Avoid using a high-strength screw where corrosion resistance or material compatibility is the primary concern. | Compare required tensile strength, operating temperature, corrosion exposure, and galvanic compatibility between dissimilar metals. |
| 8 | Evaluate Corrosion Protection | Corrosion can reduce cross-sectional area, increase friction, damage threads, and lower the reliability of the clamped joint. Surface treatments can improve resistance but may alter friction during tightening. | Use a corrosion-resistant material or suitable protective finish for humid, outdoor, marine, chemical, or high-temperature environments. Keep the screw, nut, washer, and joint materials compatible. | Review the environment, coating limitations, potential galvanic corrosion, and whether the selected finish is suitable for the installation temperature. |
| 9 | Control Torque and Preload | Tightening torque is used to generate axial preload, but only a portion of the applied torque becomes useful clamping force; the remainder is mainly lost to thread and bearing friction. | Follow the applicable engineering specification or fastener standard. Use a calibrated torque tool when preload consistency is important, and account for lubrication or coatings that change friction. | Do not rely on torque alone when precise preload is critical. Confirm the correct torque, lubrication condition, tightening sequence, and tool calibration. |
| 10 | Verify Installation and Maintenance | A compression screw performs reliably only when the joint remains properly aligned, the contact surfaces are clean, and preload is maintained under vibration, thermal cycling, and service loads. | Inspect for damaged threads, uneven gaps, loosening, corrosion, and material deformation. For vibrating assemblies, consider an approved locking method that does not compromise the required preload. | Perform a final visual and functional inspection, document the installation requirements, and establish a reinspection schedule where the application demands it. |
It draws two bone fragments together and maintains contact during healing. A partially threaded design can create a lag effect. That contact supports stability.
Tightening produces axial force, while the threads grip the far fragment. The near fragment must slide over the smooth shaft. Otherwise, both fragments may move together.
It is often useful when the near fragment needs to glide toward the far fragment. A fully threaded screw mainly maintains position. The choice depends on fracture shape and bone quality.
Check diameter, length, thread design, head shape, insertion angle, and surrounding clearance. The screw should cross the fracture securely. It should not enter sensitive tissue or extend excessively.
A narrow glide hole may reduce compression. Excessive drilling can weaken thread purchase. Small alignment errors matter. Fragments may close unevenly.
No. Excessive torque can crush fragile bone or damage the thread path. Use controlled tightening and current technical guidance. More force is not automatically safer.
Match the screw material with the joined materials and surrounding environment. Check thread size, pitch, length, head clearance, and thread depth. Moisture between dissimilar metals may encourage corrosion.
Estimate clamping force, vibration, thermal expansion, pressure changes, and repeated cycling. Include a suitable safety factor. Plastic, aluminum, and steel require different tightening limits.
Confirm tool access, alignment, washer placement, and inspection space. Clean contact surfaces before tightening. Record torque values and test results. Do not rely on hand-tightening alone.
Review material certificates, hardness, surface finish, dimensional tolerances, fatigue data, and test conditions. Inspect for gaps, distortion, vibration, heat, leakage, and uneven wear. A short trial run may reveal overlooked problems.
Choosing the right Compression Screws begins with understanding how they work: they apply controlled pressure to hold, seal, position, or stabilize components. Start by defining the compression force, adjustment range, and application purpose. Then match the screw’s diameter, length, thread design, and head style to the available space and required performance. The correct size should provide secure engagement without damaging the assembly or restricting movement.
Material and coating selection should reflect the operating environment, including moisture, heat, chemicals, friction, and corrosion risks. It is also important to confirm compatibility with mating parts, expected load capacity, and installation conditions such as tool access and tightening control. Finally, evaluate manufacturing quality, surface consistency, maintenance requirements, and long-term resistance to loosening or wear. A well-selected Compression Screws solution can improve reliability, simplify servicing, and maintain stable performance throughout the product’s working life.
